
Art Journaling for Beginners: Supplies, Layers and Ways Past the Blank Page
An art journal is one of the lowest-pressure ways to build a creative habit. There is no gallery, no client and no finished piece to defend. There is a book, some materials and the time you give it. If you have ever bought a beautiful notebook and been too nervous to mark the first page, this guide is for you.
What is art journaling?
A beginner guide from TinkerLab defines art journaling as "the creative process of making art in an art journal, notebook, or sketchbook." That definition is deliberately broad. Your journal can hold paint, pastels, markers, collage, handwriting, or all of them on the same page. Nothing in it has to be a finished painting.
A related idea is the visual journal. Yale's Art Language resource describes visual journaling as keeping a record of observations and thoughts about artwork, with two parts: increasing knowledge about the art, and a reflective exercise. It describes reflection as "a fundamental step in learning," and suggests including drawings, postcards or photographs. In other words, the same book can be a place to make art and a place to think about the art you see.
Start with the right book
The most important decision is the paper. TinkerLab advises looking for thick paper that can withstand paint, water or heavily pigmented pens, and the author says they like paper that is 90 pounds or more.
Practical points for choosing a book:
- Decide what you will use most. If you plan to use paint or water, heavier paper is the safer choice.
- Sketchbooks, notebooks and bound blank journals can all work, since the definition of art journaling covers any of them.
- Don't wait for the perfect book. A sketchbook you actually use is better than an expensive one that stays closed.
Gather a small kit of materials
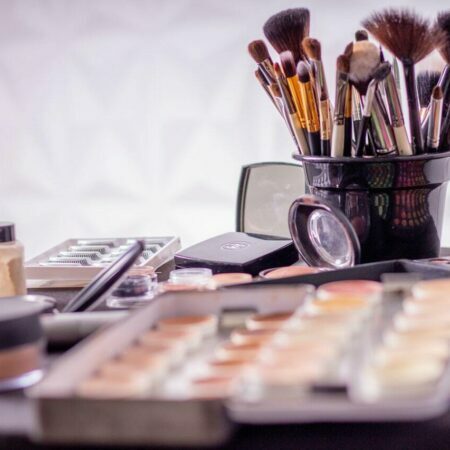
You do not need a studio. TinkerLab suggests having a variety of dry media and wet media to play with:
- Dry media: chalk pastels, oil pastels, crayons, pencils and markers.
- Wet media: watercolor paint, printmaking ink or acrylic paint.
Add a few extras as you go, such as collage papers. Start small and add one material at a time, so you learn what each one does on your chosen paper.
Where gesso fits
Gesso is a separate, optional material. Golden Artist Colors describes its gesso as a ready-to-use acrylic dispersion ground that prepares a surface to accept paint by providing "tooth" to promote paint adhesion. Golden's published guidance for using it includes:
- Stir before use, since some settling is normal.
- It can be thinned with water by up to 25 percent.
- Apply it by brush, trowel or spray. Rolling may produce foam.
- Use thin coats, and allow 1 to 3 hours between coats, depending on the environment.
Golden's page lists its surfaces as canvas, panel and other acrylic-receptive surfaces, and it does not specifically name paper. If you want to gesso journal pages, check the instructions for the product you buy and test on a spare page first.
Think in layers
The best mindset shift in TinkerLab's guide is simple: think of your art journal page as a series of layers. The author notes that most or all of the bottom layer will get covered by what follows, so anything you put on the page is less precious.
This idea takes the pressure off. The first layer is not "the drawing." It is just a start, and you are allowed to cover it. A few ways to build layers:
- Lay down a loose first layer of color or marks.
- Let it dry before adding the next layer if you are using wet media.
- Add collage paper, handwriting or a drawn shape on top.
- Pause, look, and decide whether the page wants more or is finished.
Getting past the blank page
TinkerLab is direct about this: "The blank page can be the most difficult thing for people to overcome." Its suggestion is to start by scribbling some marks, writing some words, or gluing a few pieces of collage paper on the page. The point is to break the blankness quickly, so the page stops feeling untouchable.
The same guide offers prompts you can try on a single page:
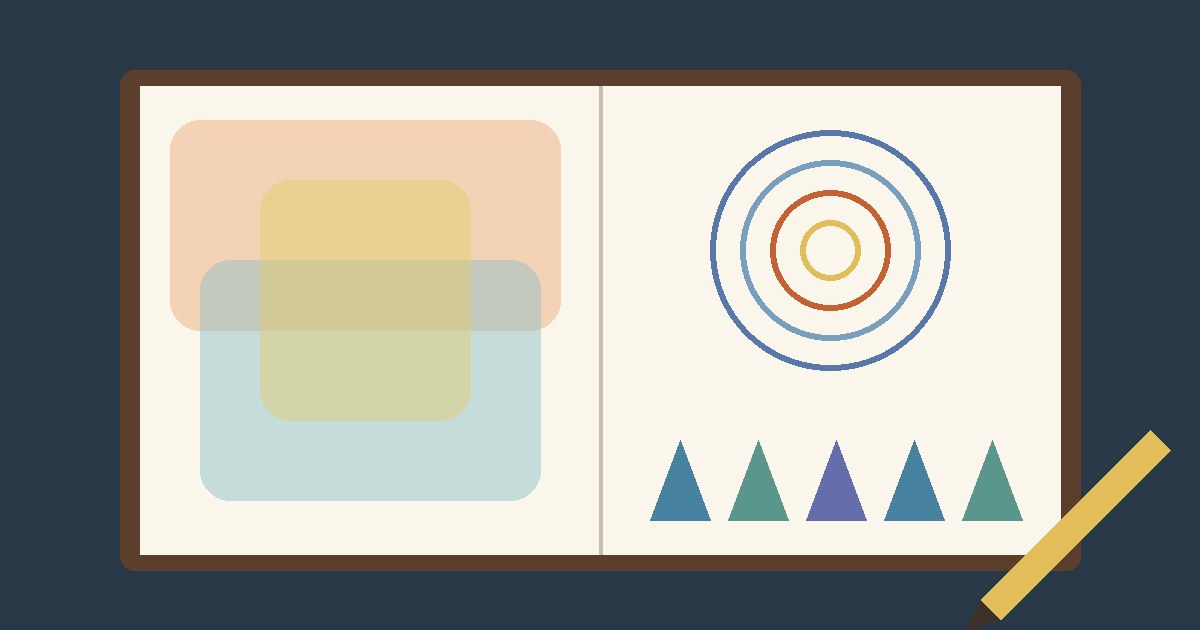
- Draw a mandala or radial design.
- Paint triangles in cool colors.
- Explore the edges of the page.
- Make light marks.
None of these require drawing skill. Each one gives you a small, defined task, which is often easier than being asked to "make something."
A simple routine for the first month
Journaling works best when it is small and repeatable. A starting plan:
- Week 1: Fill three pages with only dry media. Focus on mark-making and enjoy the process.
- Week 2: Add one wet medium, such as watercolor, and see how your paper handles water.
- Week 3: Try layers. Add collage on top of a painted background.
- Week 4: Look back through the book. Note which materials you reached for and which you ignored, and buy accordingly.
This schedule is only a suggestion, not a published method. Adjust the pace to your own time.
Use your journal to study art, too
If you go to see art in person, consider bringing the journal. The Yale resource says to write an entry for every visit, revisit entries and rewrite them if needed, and include drawings, postcards or photographs. Writing about what you see is a way to turn looking into understanding. Over time the book becomes both a creative record and a personal reference.
Common beginner questions
Do I need to know how to draw? The definition in TinkerLab's guide covers any creative process in a journal, notebook or sketchbook, and the suggested starting moves are scribbling marks, writing words or gluing collage paper. None of those require drawing training.
What if I ruin a page? The layering idea answers this: because later layers cover earlier ones, a page you dislike can become the base of a new one.
Is a sketchbook the same as an art journal? The terms overlap. TinkerLab's definition lists "art journal, notebook, or sketchbook" together, so you can use whichever book you prefer.
The takeaway
Art journaling for beginners comes down to a few choices: pick a book with paper that suits your materials, gather a small mix of dry and wet media, think in layers and break the blank page with a few quick marks. Start with one page, then another, and let the habit grow.
Sources
- TinkerLab, "How to Start Art Journaling: Beginner's Guide" - https://tinkerlab.com/art-journaling-101-ideas-prompts-get-started/ (definition, dry and wet media, layers idea, blank-page quotes and suggestions, prompts, thick paper and 90 lb or heavier)
- Yale University Art Language, "Visual Journaling" - https://artlang.yale.edu/deep-observation-and-reflection/visual-journaling (visual journal as a record of observations, reflection as a fundamental step in learning, recording visits, adding sketches, postcards or photographs)
- Golden Artist Colors, "Gesso & Grounds" - https://goldenartistcolors.com/products/gesso (gesso provides "tooth," surfaces listed, thinning up to 25 percent, application methods, thin coats, 1 to 3 hours between coats)