
How to Stretch Canvas: A Step-by-Step Guide for Painters
Stretching your own canvas is one of the most practical studio skills a painter can learn. You choose the size, you choose the fabric, and you control how tight the surface is before a single brushstroke goes on. It takes a handful of tools and a little patience, and the basic order of work is the same for most sizes.
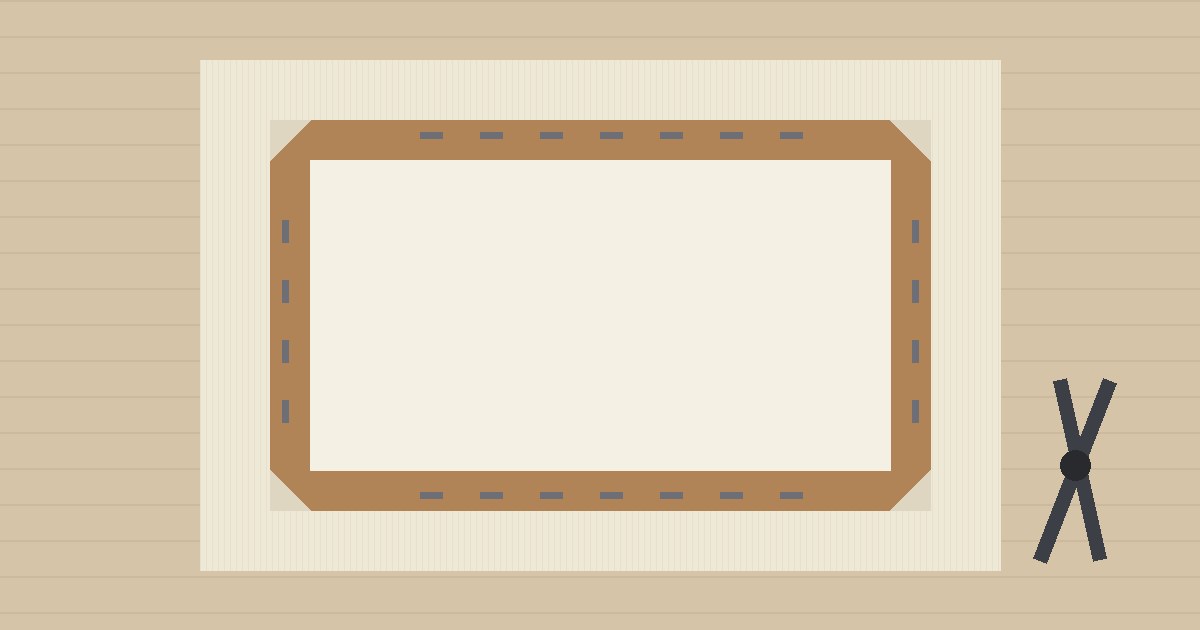
This guide walks through the process in the order the sources below describe it: gather materials, cut the fabric, anchor the center of each side, work outward in a balanced pattern, and finish the corners.
What you need
Teaching guides from art departments and art-supply retailers list nearly identical kits:
- Stretcher bars. These are the wooden strips that interlock at the corners to form the frame.
- Canvas. It can be raw or already primed. One university painting course notes that stretching unprimed canvas is generally easier than stretching primed canvas.
- A staple gun and staples. A tack hammer and tacks are the traditional alternative.
- Canvas pliers (the university guide calls them stretching pliers). The university guide lists them as optional, for when the canvas needs more pull, and a retail guide includes them in its standard materials list, so a pair is worth having if you plan to stretch more than one canvas.
- Scissors sharp enough to cut the canvas cleanly.
- A hammer, for tapping the frame corners together and for tapping staples flush with the wood.
- A second person, if you can get one. The same university guide says working alone is possible, but two people make it easiest.
Step 1: Assemble the frame and check it is square
Interlock the stretcher bars at the corners and tap them together with a hammer. Check that each corner is a true 90 degrees before you go any further. Fix any corner that is off before you add fabric.
Step 2: Cut the canvas with a margin
Lay the frame on the canvas and cut the fabric larger than the frame on every side. The extra fabric is what you pull on and fold over the sides.
Sources differ slightly on how much to leave:
- A university painting course recommends canvas "about 3 inches larger on all sides than the size of the stretcher."
- An art-supply retailer recommends at least 4 inches larger on all sides, and more if you are using gallery-width bars (the deeper bars that give a canvas a thicker edge).
Either range works. If you plan to wrap the canvas around deep bars, lean toward the larger margin so there is enough fabric to fold over the sides and reach the back.
Step 3: Anchor the middle of each side
Center the frame on the canvas. Fold one side of the fabric up over the wood and place a single staple in the middle of that side.
Next, go to the opposite side. Pull the middle of that edge taut, using canvas pliers or a firm grip, and put a single staple in the middle of it. Then repeat the process on the two remaining sides: one staple in the center of each.
Starting at the center of each side, rather than at a corner, is the key idea of the whole method. It sets even tension across the face of the canvas from the very first staples.
Step 4: Work outward from the center, one side at a time
Now return to the first long side. Staple outward from the center in both directions, leaving the corners free. One university guide suggests placing staples approximately three inches apart and stopping about 18 inches from the center in each direction, or about six inches from the corner, whichever comes first.
Then rotate the frame 180 degrees and do the same on the opposite side, pulling the fabric taut as you go. Move on to the short sides in the same way, and then return to the first side and continue outward until you are close to the corners. An art-supply retailer puts the rule simply: work from the middle outward, leave the corners free, and rotate the canvas after each staple so the pull stays balanced.
While you work, keep checking the surface. The aim is a canvas that is evenly taut and free of wrinkles.
Step 5: Fold and staple the corners
Corners are done last. Pull each corner of the fabric firmly outward, fold the canvas over the wood, and tack it down.
One retailer guide suggests deciding whether the painting will be portrait or landscape, then folding the side corners first, trimming excess fabric as needed, before finishing with the top and bottom corners. The University of Delaware guide says to tuck excess canvas at the corners and staple it on the back.
Step 6: Trim and finish
Trim away any extra fabric once everything is stapled. Tap the staples flush with the wood using a hammer.
If you plan to paint on raw canvas, the next step is to prime it. Gesso is one option. Golden Artist Colors describes its gesso as a ground that prepares a surface to accept paint by providing "tooth" to promote paint adhesion, and recommends thin coats, with 1 to 3 hours between coats depending on the environment.
Common questions
Is it easier to stretch raw or primed canvas? According to the University of Delaware's painting course, unprimed canvas is generally easier to stretch than primed canvas.
Can I do this alone? Yes, but the same course notes that two people make the work easiest.
Should I use a staple gun or tacks? Both appear in published instructions. A tack hammer and tacks are the traditional alternative.
A quick checklist before you start painting
- The frame is square, with every corner at 90 degrees.
- The canvas was cut with a generous margin on every side.
- You anchored the center of each side before stapling toward the corners.
- You alternated sides as you worked, so tension stayed even.
- The corners are folded and secured, and excess fabric is trimmed.
- Staples are flush with the wood.
Stretching canvas well is mostly a matter of order and balance. Anchor the center, work outward, alternate sides, and leave the corners for last. Do that, and you will have a taut, even surface ready for primer and paint.
Sources
- University of Delaware, Art Foundations, Beginning Painting: "Stretching a Canvas" - https://www1.udel.edu/artfoundations/beg_painting/stretching.html (3-inch margin, staple gun or tacks, pliers only if necessary, two people easiest, stapling order and spacing, unprimed canvas easier to stretch, tucking corners)
- De Serres, "Technique: Stretching a Canvas" - https://www.deserres.ca/blogs/all-articles/technique-stretching-a-canvas (materials list, checking 90-degree corners, at least 4-inch margin, working outward and rotating, corner folding, trimming, tapping staples flush)
- Golden Artist Colors, "Gesso & Grounds" - https://goldenartistcolors.com/products/gesso ("tooth" to promote paint adhesion, thin coats, 1 to 3 hours between coats)
Art Journaling for Beginners: Supplies, Layers and Ways Past the Blank Page